This manual provides a detailed guide for installing your Bose amplifier, ensuring optimal sound quality․ It includes diagrams and step-by-step instructions to help you achieve professional results easily․

Overview of the Bose Amplifier System
The Bose amplifier system is designed to deliver high-quality sound in your vehicle․ It typically includes a compact amplifier located in the trunk, often on the driver’s side, and is connected to front and rear speakers․ The system is engineered for seamless integration with your car’s audio setup, ensuring enhanced sound performance․ Proper installation and wiring are crucial for optimal functionality, making the wiring diagram an essential tool for a successful setup․
Importance of Proper Wiring for Optimal Performance
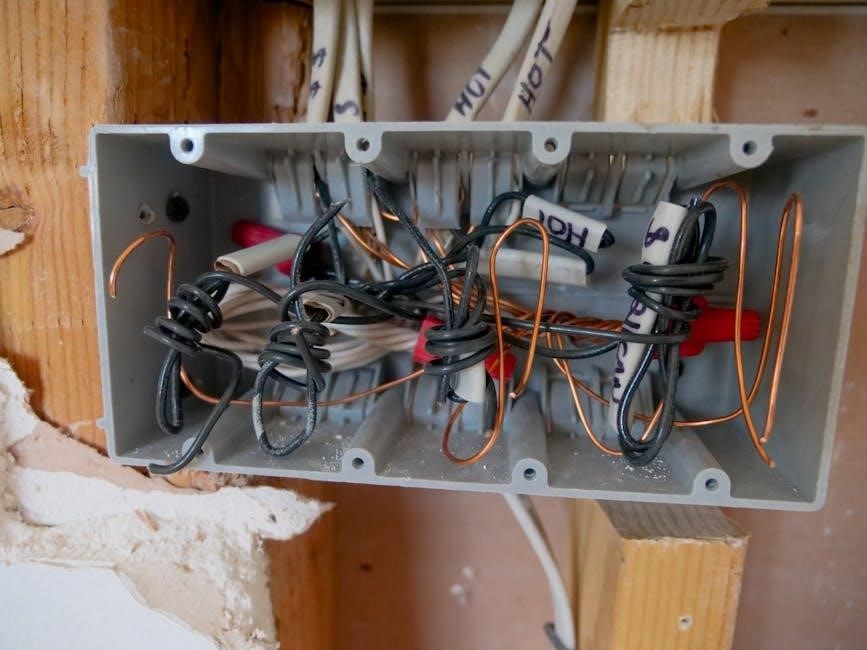
Proper wiring is essential for achieving optimal sound quality and ensuring the longevity of your Bose amplifier system․ Incorrect connections can lead to distortion, interference, or even damage to components․ Secure, well-insulated wires prevent signal loss and protect against environmental factors․ Using materials like silicone caulking for outdoor connections ensures durability․ A well-planned wiring setup guarantees reliable performance, making it crucial to follow the diagram closely for a professional-grade installation and enhanced listening experience․
Understanding the Components of the Bose Wiring Diagram
The Bose wiring diagram outlines the radio, amplifier, speakers, and connectors, providing a clear visual guide to understand their roles and connections in the audio system․
Identifying Key Components: Radio, Amplifier, Speakers, and Connectors
The Bose wiring diagram highlights the radio as the source of audio signals, the amplifier located in the trunk for boosting power, and speakers positioned front and rear for sound output․ Connectors ensure secure links between components; The diagram simplifies identification by labeling each part, making it easier to trace connections and verify compatibility․ Properly identifying these components is crucial for accurate installation and avoiding wiring errors․
Locating the Amplifier and Speakers in Your Vehicle
The amplifier is typically located in the trunk, often on the driver’s side, and can be accessed through an access panel․ The speakers are positioned in both the front and rear of the vehicle, with their exact locations varying by car model․ The wiring diagram provides visual guidance to help pinpoint these components, ensuring accurate connections․ Knowing their locations is essential for routing wires correctly and achieving optimal sound performance without damaging the system․

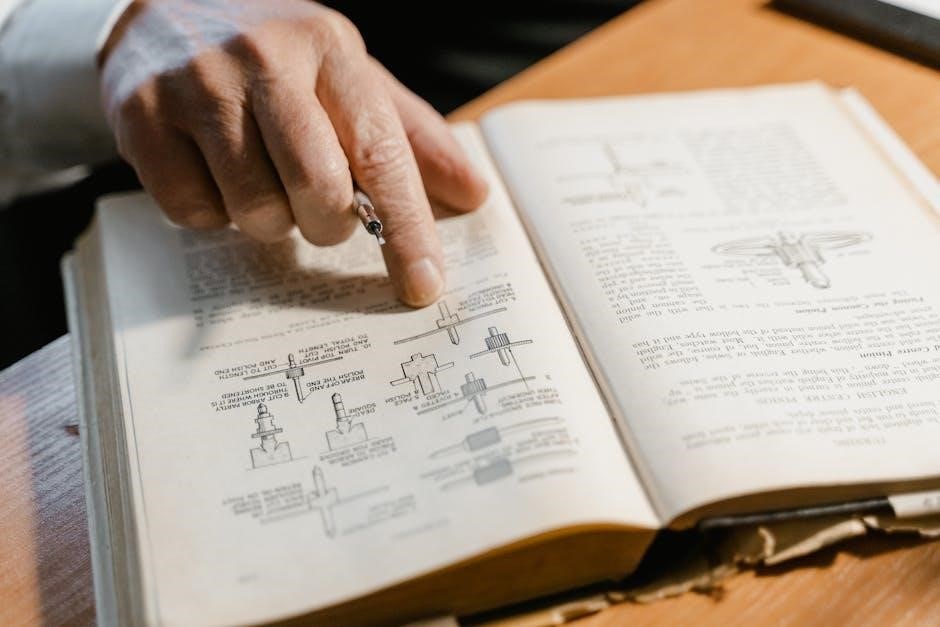
Reading and Interpreting the Wiring Diagram
Understand the symbols and colors used in the diagram to identify components and connections․ This guide helps you decode the wiring system for a seamless installation process․
Deciphering Symbols and Colors in the Diagram
Each symbol in the Bose wiring diagram represents a specific component, such as speakers, amplifiers, or connectors․ Colors indicate wire purposes, like power, ground, or signal․ Understanding these visual cues is crucial for accurate installation․ For example, a speaker symbol may resemble a cone, while color coding helps differentiate between left and right audio channels․ Referencing the legend ensures proper connections, avoiding errors and ensuring optimal sound quality․ This system simplifies the process, making it accessible for both novices and experienced installers․
Understanding the Flow of the Wiring System
The Bose wiring system follows a logical flow, starting from the power source and moving through the amplifier to the speakers․ The amplifier acts as the central hub, distributing audio signals to front and rear speakers․ Ground wires ensure proper current flow, while RCA cables handle audio signals․ Understanding this flow helps in tracing connections and troubleshooting․ Proper routing and secure connections prevent interference and ensure optimal sound quality․ This systematic approach makes installation and maintenance more efficient and reliable․
Safety Precautions and Best Practices
Always disconnect the battery before starting work to prevent electrical shocks․ Use proper tools and ensure all connections are secure․ Protect wiring with silicone caulking for durability․
Essential Safety Measures Before Starting the Installation
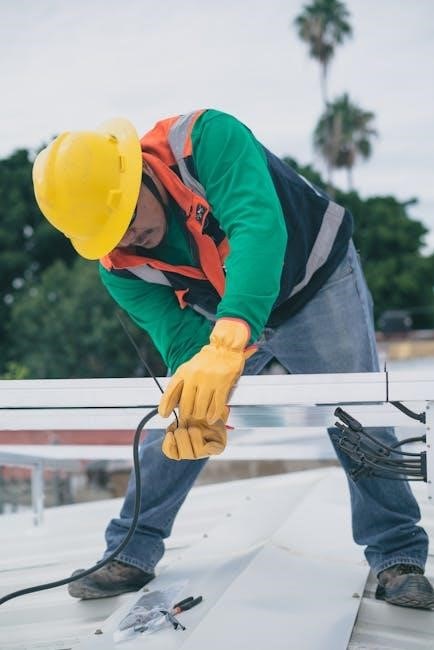
Before beginning, disconnect the battery to prevent electrical shocks․ Wear protective gear like gloves and safety glasses․ Ensure the vehicle is in park with the handbrake engaged․ Avoid working near open flames or sparks․ Use proper tools to prevent damage to components․ Double-check all connections for secureness before reconnecting power․ Keep the workspace well-lit and clear of clutter to minimize risks․ Always refer to the manual for specific safety guidelines related to your Bose amplifier system․
Protecting Wiring Connections with Silicone Caulking
Apply silicone caulking or RTV adhesive to outdoor speaker connections to shield them from moisture and environmental damage․ This step ensures long-lasting reliability and prevents corrosion․ Gently seal all wire joints and connectors, especially in areas exposed to humidity or temperature fluctuations․ For added protection, wrap connections with heat-resistant tape in high-temperature zones․ Regularly inspect sealed connections to maintain optimal performance and avoid signal degradation over time․ This simple step enhances the durability of your Bose amplifier system․
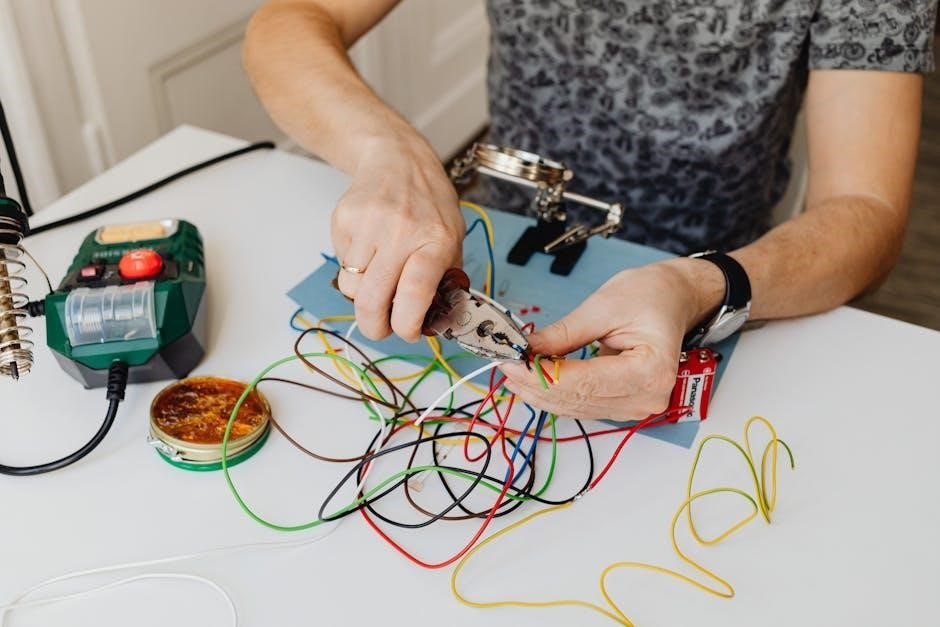
Tools and Materials Needed for Installation
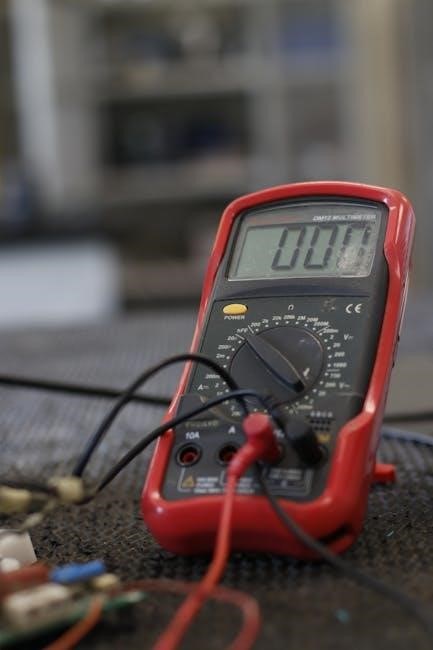
Essential tools include wire cutters, strippers, and a multimeter․ Materials like RCA cables, speaker wires, and connectors are required․ Don’t forget silicone caulking for protecting connections․
Recommended Tools for Wiring Your Bose Amplifier
Essential tools include wire cutters for cutting cables, wire strippers to remove insulation, and a multimeter to test connections․ A soldering iron and screwdrivers are also necessary for secure wire connections․ Additionally, crimping tools for connectors and cable ties for organizing wires are highly recommended․ These tools ensure a clean and professional installation, minimizing the risk of electrical issues and improving sound quality․ Always use high-quality tools to maintain reliability and performance․
Materials Required for Secure and Durable Connections
For secure connections, use high-quality speaker wires with appropriate gauge ratings․ RCA connectors and speaker terminals ensure reliable signal transfer․ Heat shrink tubing and silicone caulking protect connections from moisture․ Fuse holders and inline fuses prevent overloads․ Cable ties organize wires neatly․ Solder and flux are essential for permanent joints․ A wiring harness or distribution block simplifies complex setups․ Electrical tape aids in minor insulation tasks․
Step-by-Step Installation Guide
This guide offers a clear, easy-to-follow process for installing your Bose amplifier․ From connecting components to final testing, it ensures a smooth and successful setup for optimal performance․

Connecting the Amplifier to Front and Rear Speakers
Begin by locating the amplifier, typically found in the trunk on the driver’s side․ Connect the front speakers using RCA cables to the amplifier’s front outputs․ For the rear speakers, use the rear RCA outputs․ Ensure all connections are secure and wires are properly insulated․ Use silicone caulking to protect outdoor speaker connections from moisture․ Double-check all wiring to avoid short circuits and ensure optimal sound quality throughout your vehicle’s audio system․
Integrating the Amplifier with Your Car’s Audio System
To integrate the amplifier, connect the amplifier’s RCA outputs to your car’s stereo system․ Use RCA cables to link the amplifier to the head unit for front and rear channels․ Ensure all connections are secure and properly insulated․ For a seamless setup, refer to the wiring diagram to match the correct inputs and outputs․ Apply silicone caulking to protect connections from moisture․ Finally, test the system to ensure clear sound output and adjust settings as needed for optimal performance․

Troubleshooting Common Wiring Issues
Check for faulty connections and ensure all wires are securely connected․ Look for signs of damage or corrosion and test cables with a multimeter․ Resolve short circuits and verify proper power flow to avoid system malfunctions․ Always refer to the wiring diagram for guidance on identifying and repairing issues efficiently․ Regular maintenance can prevent common wiring problems․
Identifying and Fixing Faulty Connections
Start by inspecting the wiring connections for any signs of damage or corrosion․ Use a multimeter to test for continuity and identify short circuits․ Look for loose connections or frayed wires, as these are common causes of audio issues․ Clean corroded terminals with sandpaper and reattach securely․ If a wire is damaged, replace it with a high-quality equivalent․ Always refer to the wiring diagram to ensure proper connections․ Regular checks and maintenance can prevent future problems․ Patience and thoroughness are key to resolving wiring faults effectively․
Advanced Troubleshooting Techniques for Optimal Sound Quality
For advanced issues, use a multimeter to check for voltage drops or signal interference․ Inspect the wiring diagram to trace signal paths and ensure proper grounding․ Clean or replace corroded terminals and verify amplifier settings․ Check for noise filtration issues by testing with a noise filter․ Ensure all connections are secure and free from oxidation․ If distortion occurs, test individual speaker channels to isolate the problem․ Advanced troubleshooting requires patience and a systematic approach to achieve optimal sound quality․
This manual provides a comprehensive guide for your Bose amplifier installation․ Follow the steps carefully for a successful installation․ Experiment with settings and explore additional resources for further learning․
Summarizing the Key Steps for a Successful Installation
Start by preparing tools and materials, ensuring all components are accounted for․ Carefully follow the wiring diagram to connect the amplifier to speakers and your car’s audio system․ Test connections to ensure proper functionality and apply silicone caulking for protection․ Double-check wiring routes to avoid damage and interference․ Finally, review the manual for any additional tips and troubleshooting guidance․ Patience and attention to detail will ensure a professional-grade installation and optimal sound quality․
Encouragement to Explore Additional Resources for Further Learning
For a deeper understanding, explore online forums and community discussions where experts share insights and troubleshooting tips․ Review detailed diagrams and step-by-step guides available online to refine your skills․ The Bose manual and PDF schematics are invaluable resources for advanced learning․ Additionally, consider workshops or tutorials to stay updated on the latest installation techniques and best practices for optimal sound quality and system performance․
No Responses